*Suggested Reading*
Going to the Hospital (Usborne First Experiences) by Anne Civardi
When You're Sick or in the Hospital: Healing Help for Kids by Tom McGrath
Harry Goes to the Hospital: A Story for Children About What It's Like to Be in the Hospital by Howard J., M.D. Bennett
The Moose with Loose Poops by Dr. Charlotte Cowan
Katie Caught a Cold by Dr. Charlotte Cowan
Items needed this week:
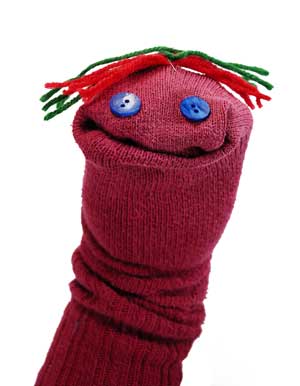
• Googly eyes
• Sequins, buttons, feathers and other decorations
• Socks (any type, any color)
• Yarn, felt and other fabric scraps
• Markers
• Scissors
• White glue or glue gun with hot glue (with a parent's assistance)
• Waxed paper or other paper
• Thermometer
• Tissues
• Popsicle Stick
• Cotton Balls
• Band Aids
• Measuring Tape
• Lotion
• Anything you can find in your bathroom to play “Doctor” with
• Band-aid
• Markers
• Cotton ball
• Glue
• Q-tips
• Paper
Preparations to be made:
Call your local hospital and set up a time to come in and bring your sock puppets for the sick children. Also inquire if there are any special tours or activities for children visiting the hospital.